


Using openConfirmDialog you can display a confirmation dialog box containing a message and two buttons.
Here is a method to display confirm dialog:
Xrm.Navigation.openConfirmDialog(confirmStrings,confirmOptions).then(successCallback,errorCallback);
Example:
In this example, open ConfirmDialog Box on Save Record and show Alert on Success Event.
Step 1: Open Code Editor and Create New Javascript File.
The following code sample displays a confirmation dialog box. An appropriate message is shown in the Alert Dialog Box depending on whether confirm or cancel was clicked to close the dialog.
var confirmStrings = { text:"Do you want to save Record?.", title:"Confirmation" };

var confirmOptions = { height: 200, width: 450 };

Xrm.Navigation.openConfirmDialog(confirmStrings, confirmOptions).then(

function (success) {

    if (success.confirmed)

        alert("success.");

    else

        alert("Cancel.");

});
In the function (success) block you need to define what you want at success.
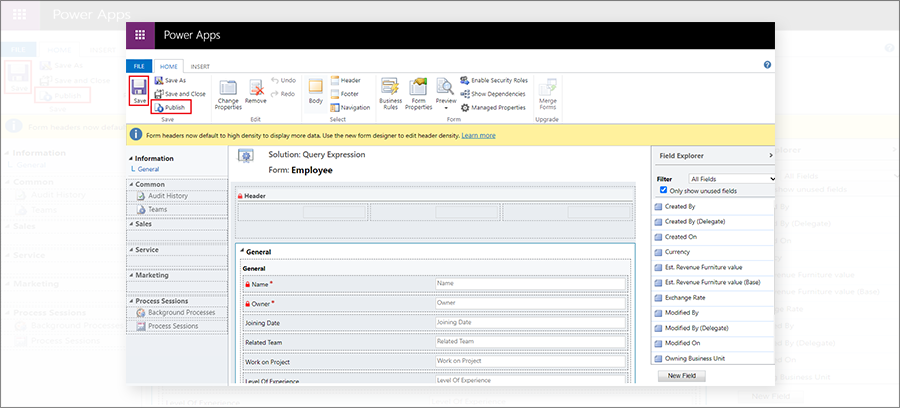
Step 2: Create a new Webresource type of JScript(javascript).
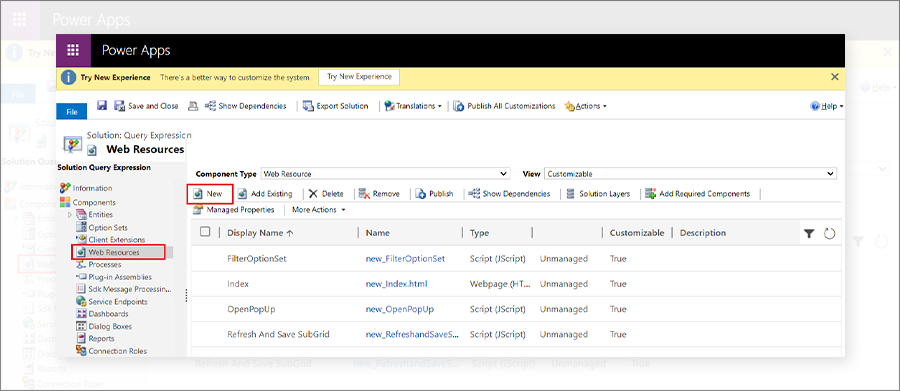
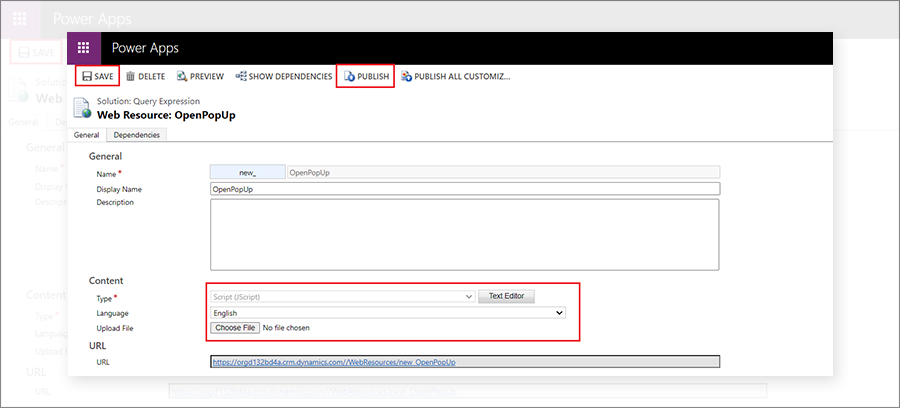
Step 3: In the Web Resource dialog box give the appropriate name, display the name and select type as Script(JScript), and select a file. Then Click Save and Publish.
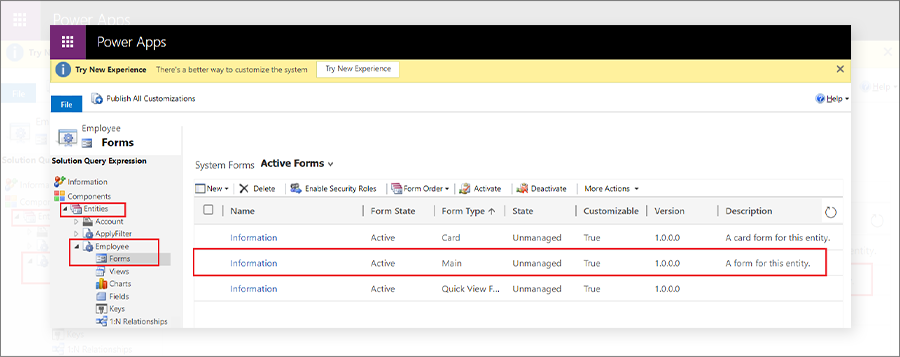
Step 4: Select the entity Form where you want to show Confirm Dialog Box. and open the Main Form of Entity.
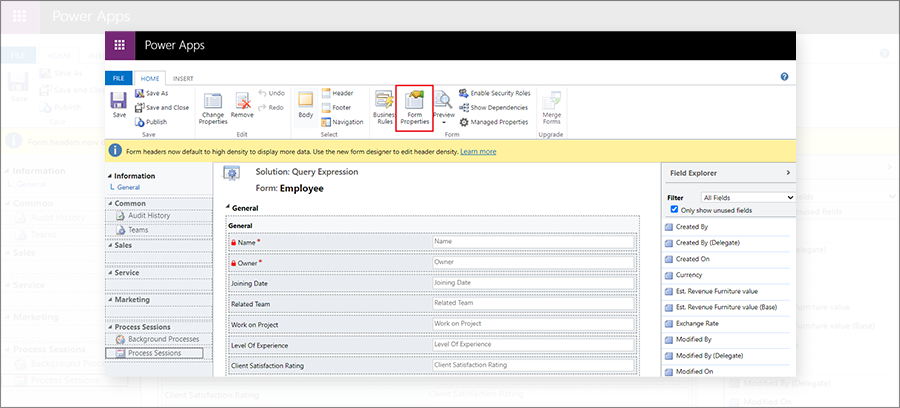
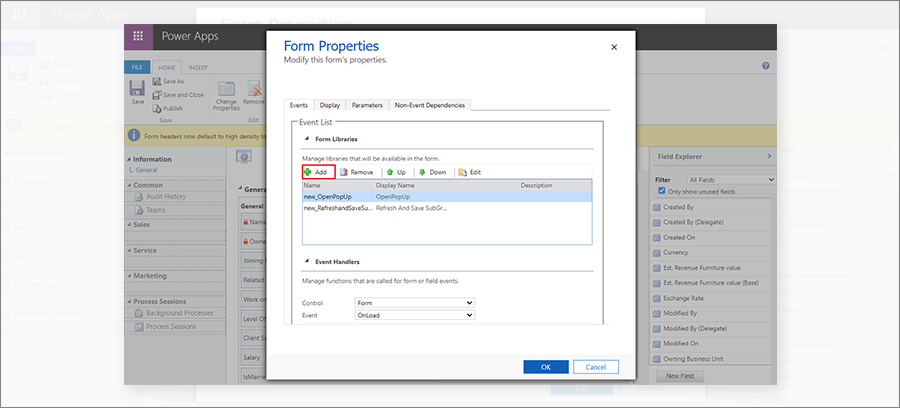
Step 5: In Entity Main Form Select Form Properties.
Step 6: From Form Properties Dialog Box, click on + Add Button.
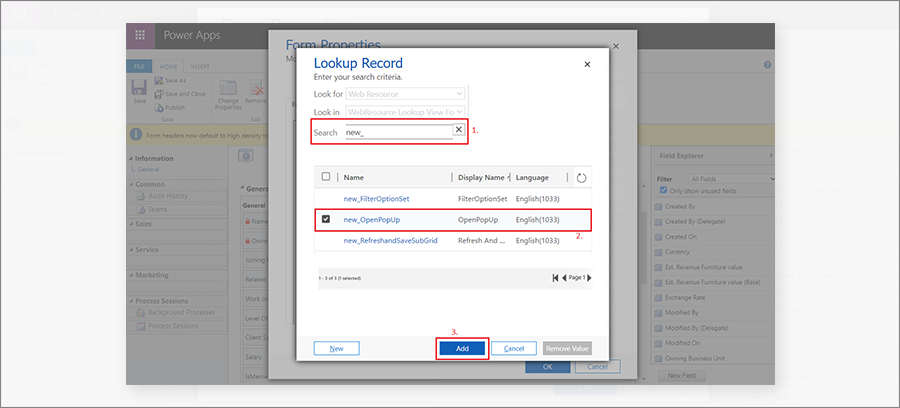
Step 7: After selecting Add it will open LookUp Record Dialog Box. in LookUp Record Dialog Box Search Webresource and select WebResource then click on Add.
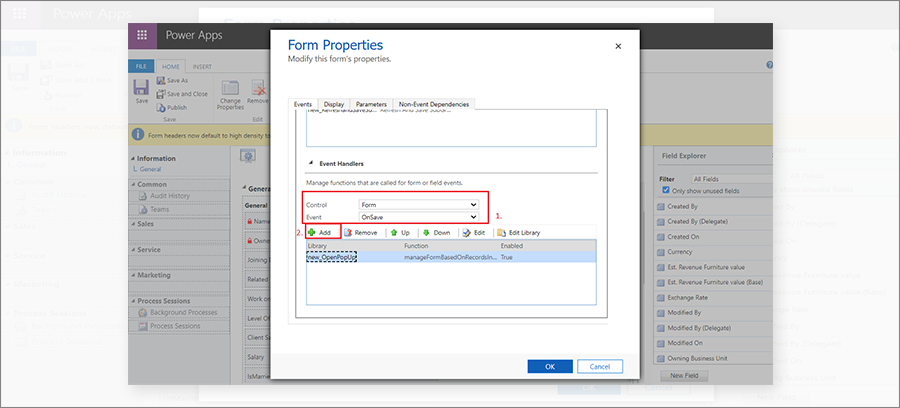
Step 8: After that in the Event Handler section select
Control = Form
Event = OnSave
Next Click Add.
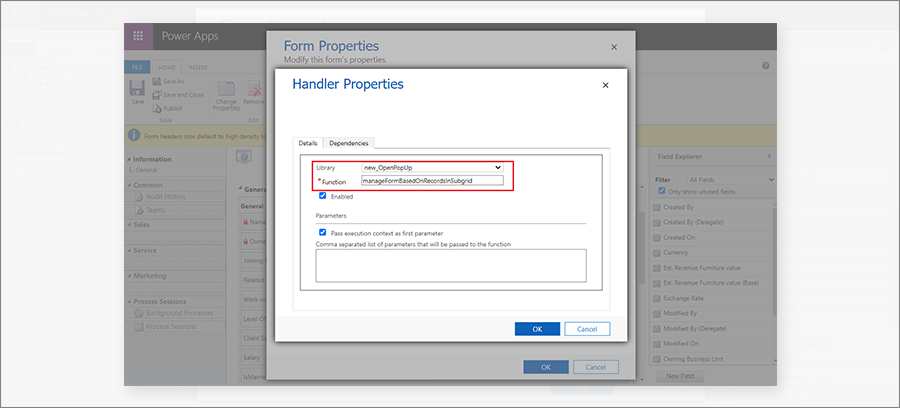
Step 9: After that, it will open the Handler Properties dialog box. Enter the Appropriate Function Name that is written in your Webresource code and Then click Ok.
Step 10: After that Click Save and Publish.
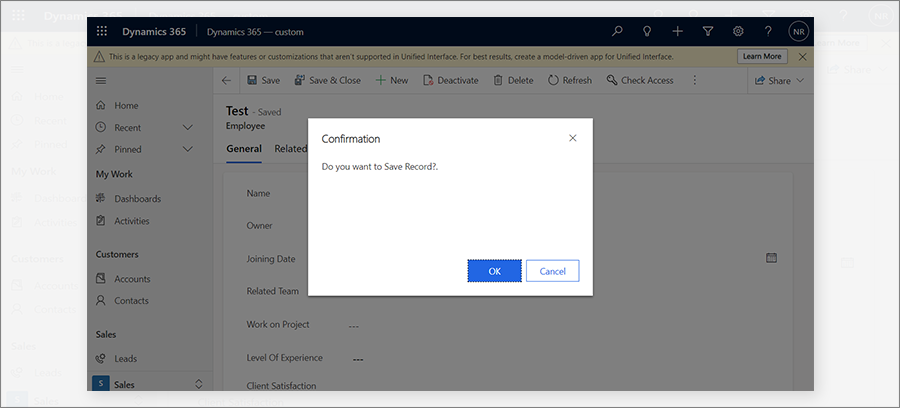
Step 11: Redirect to Entity and try to create a new record then Click on Save Button. It will open the Confirmation Dialog Box. click on OK and it shows Alert Box.
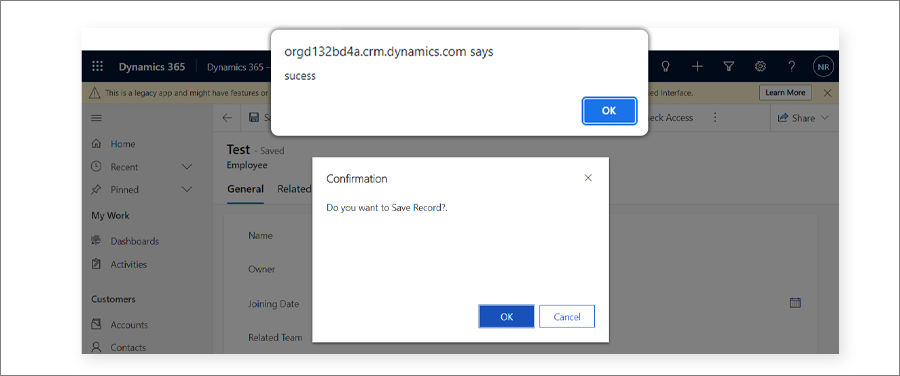
On click of the OK button, it will show the message which we have written on successcallback method of confirm dialog.
So this is how users can configure confirm dialog in CRM.
All product and company names are trademarks™, registered® or copyright© trademarks of their respective holders. Use of them does not imply any affiliation with or endorsement by them.


