


This blog is about how a user can create a custom security role. By using a custom security role, the admin can assign privileges to the user according to the business requirement.
Follow the below steps to create a custom security role in D365:
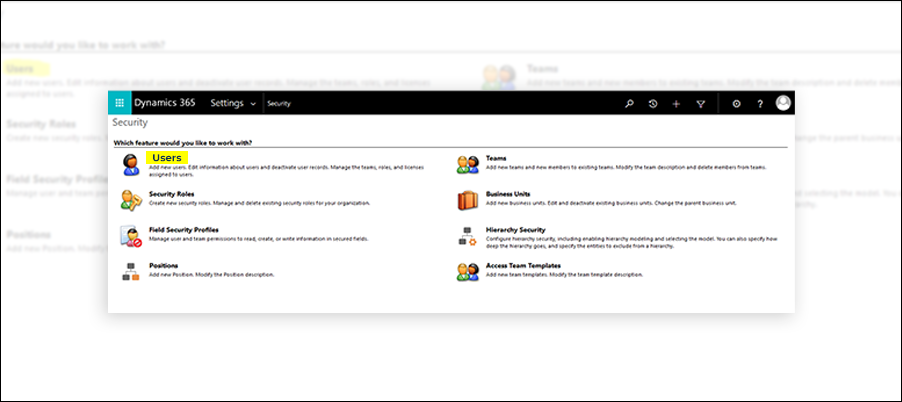
Step 1: Go To Settings > Navigate to Security.
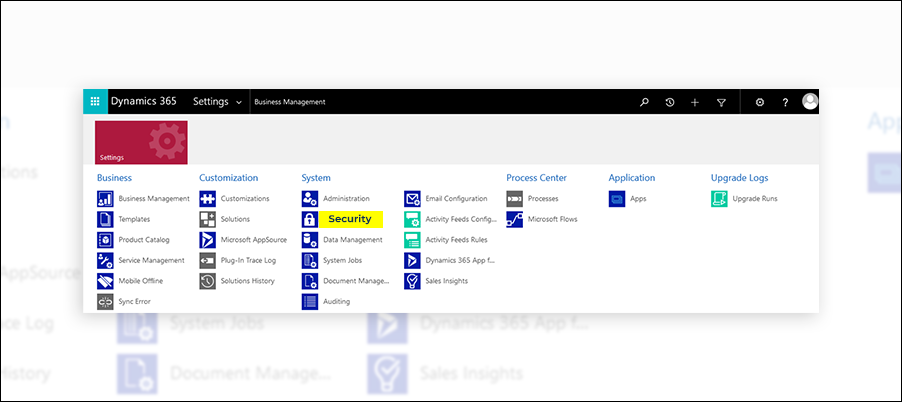
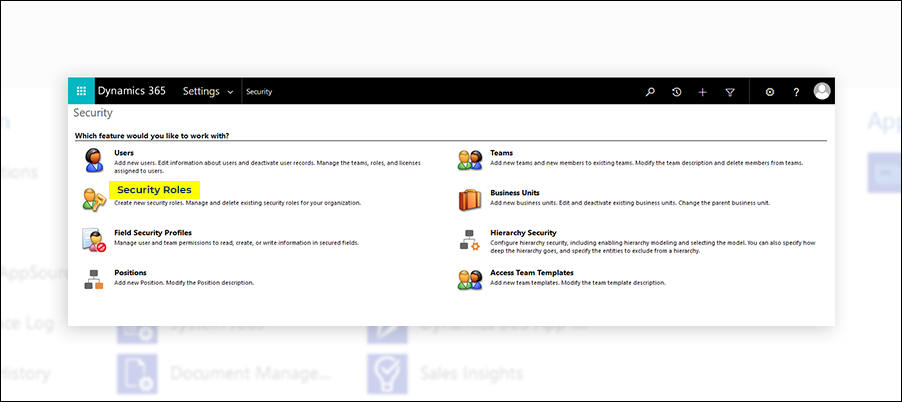
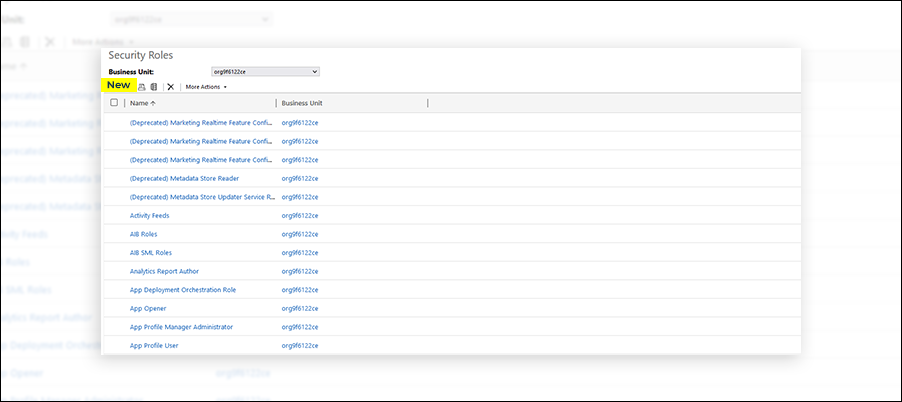
Step 2: Click on Security Roles, and it will open a pop-up that shows all security roles.
Step 3: Now, to create a new security role, click on the New button.
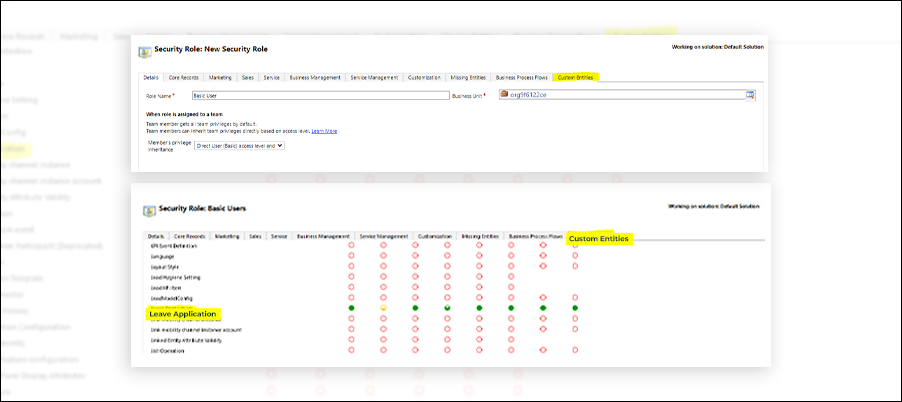
Step 4: Now, give a suitable name for the new security role and go to the Custom Entities tab. Now set the privilege of a custom entity according to your requirement. Users will be allowed to Create, Read, Edit, Delete etc; after that, Save and Close the security role.
Step 5: Now, to assign new created security role to a user, navigate to Users.
Step 6: It will show a list of users; from that list, select the user or users to whom you want to assign a security role.
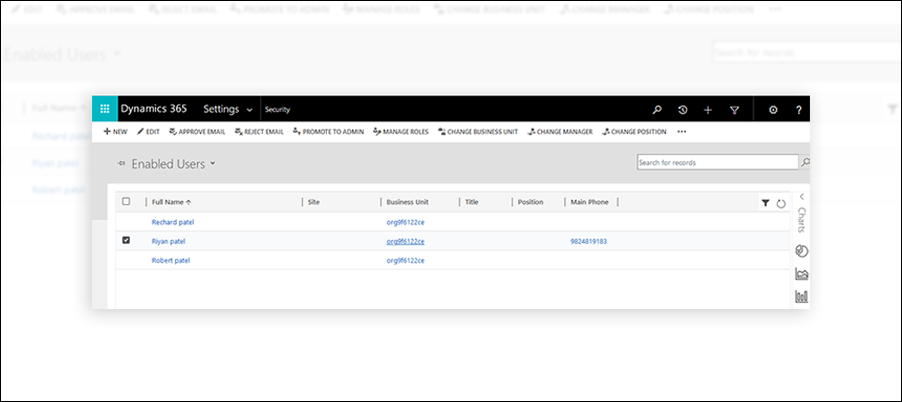
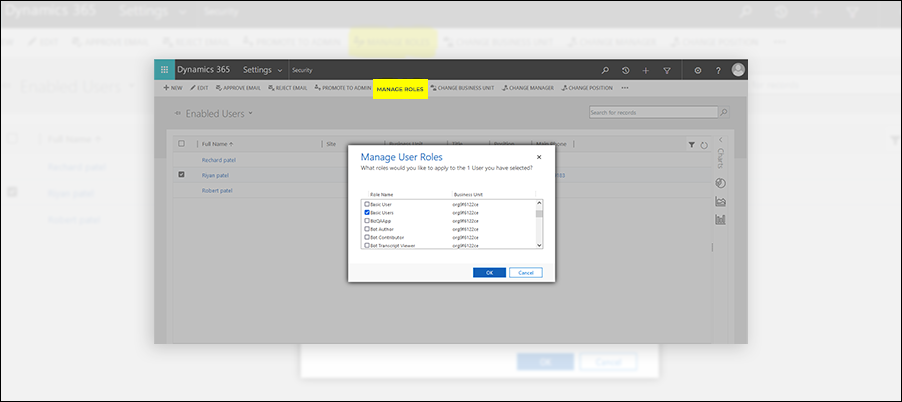
Step 7: Click on the Manage Roles button from the ribbon.
In the Manage User Roles dialog box, select the security role or roles you want for the user or users and then click the OK button.
So this is how a user can create a custom security role and assign it to a user.
All product and company names are trademarks™, registered® or copyright© trademarks of their respective holders. Use of them does not imply any affiliation with or endorsement by them.


