


In Dynamics 365, to store images in the record, there is one field type: Image; using this field type, the user can store images.
Follow the below steps to store and retrieve images in D365:
Step 1: Create a new field of Image type in the entity.
- To create an Image type field, redirect to the solution, and select the entity in which you want to create the Image type field.
- Click on Fields and click New.
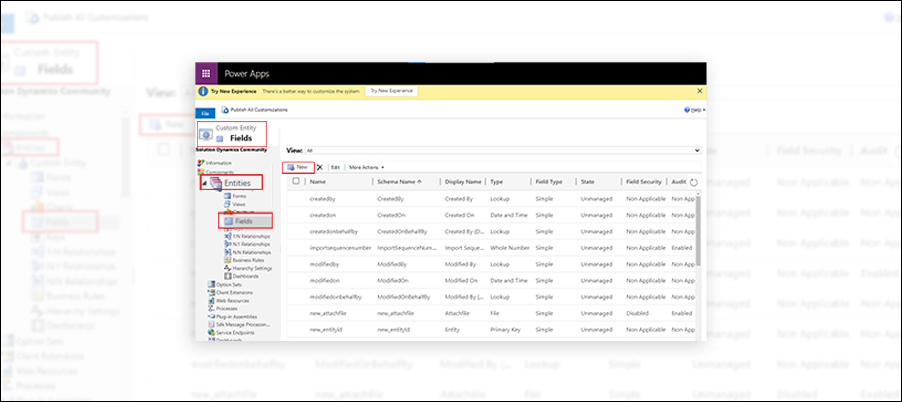
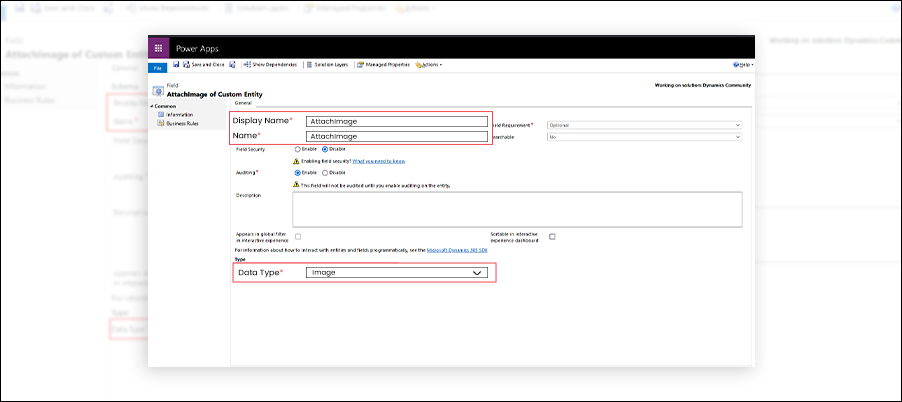
- Enter Display Name, Name, and select Data type as Image, then click on Save and close.
- Here, we have created a new_demo entity and new_attachimage as the field of Image data type in the new_demo entity.
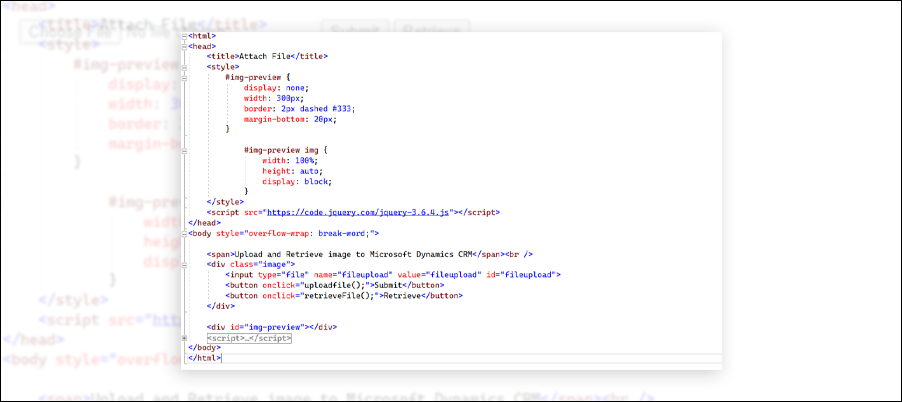
Step 2: Create an HTML file in your code editor.
- To store images, we use the below function:
1.uploadfile
2. sendRequest
3. fileContentUpload
4. sendRequestFileContent
- And to retrieve images, we use the below method:
1. retrieveFile
2. RetrieveFileRequest
Add the code to your HTML file and write the content from given below image:
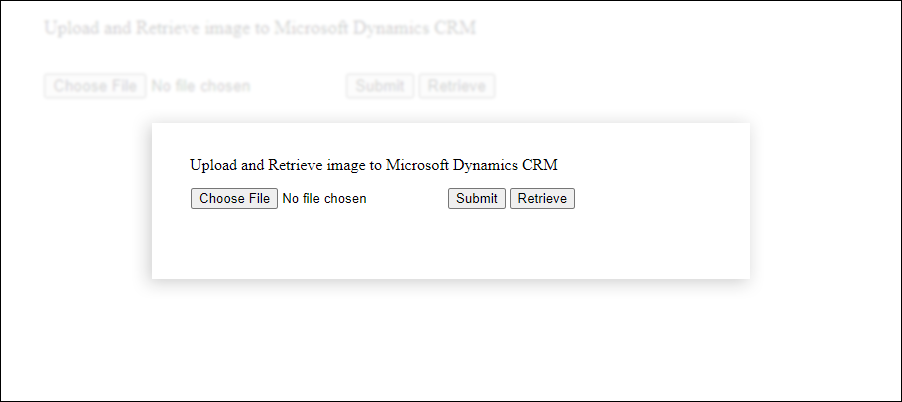
After writing the code it will show on browser like below given image
After that put below the given Javascript code into script tag.
        var file = document.getElementById("fileupload");

        var imagePreview = document.getElementById("img-preview");

        var serverUrl = parent.Xrm.Utility.getGlobalContext().getClientUrl();

        var image;


        function uploadfile() {

            var FileData = file.files[0];

            var FileName = file.files[0].name;

            var fileReader = new FileReader();


            fileReader.onload = function () {


                var arrayBuffer = this.result;

                var array = new Uint8Array(arrayBuffer);


                var apiEntityName = "new_demos";    //Pass api name of entity

                var EventId = "6482a4ea-5ad8-ed11-a7c7-000d3a8d5264";  //Pass record id

                var AssignUserUri = apiEntityName + "(" + EventId + ")/new_attachimage";

                sendRequest("PATCH", FileName, AssignUserUri, null, true).then(function (s) {

                    fileContentUpload(s, FileName, array);

                });

            }

            fileReader.readAsArrayBuffer(FileData);

        }


        function sendRequest(method, fileName, url, bytes, firstRequest, offset, count, fileBytes) {

              var Query = serverUrl + "/api/data/v9.0/" + url;


            return new Promise(function (resolve, reject) {

                var xhr = new XMLHttpRequest();

                xhr.open("PATCH", Query, true);

                xhr.setRequestHeader("OData-MaxVersion", "4.0");

                xhr.setRequestHeader("OData-Version", "4.0");

                xhr.setRequestHeader("x-ms-transfer-mode", "chunked");

                xhr.setRequestHeader("x-ms-file-name", fileName);

                xhr.setRequestHeader("Prefer", "odata.include- annotations=OData.Community.Display.V1.FormattedValue");

                xhr.setRequestHeader("Prefer", "odata.include-annotations=*");

                xhr.onload = resolve;

                xhr.onerror = reject;

                xhr.send();

            });


        }


        async function fileContentUpload(response, fileName, fileBytes) {

            var req = response.target;

            var url = req.getResponseHeader("location");

            var chunkSize = parseInt(req.getResponseHeader("x-ms-chunk-size"));


            var offset = 0;

            while (offset <= fileBytes.length) {

                var count = (offset + chunkSize) > fileBytes.length ? fileBytes.length % chunkSize : chunkSize;


                var content = new Uint8Array(count);

                for (var i = 0; i < count; i++) {

                    content[i] = fileBytes[offset + i];

                }


                response = await sendRequestFileContent("PATCH", fileName, url, content, false, offset, count, fileBytes);

                req = response.target;


                if (req.status === 206) { // partial content, so please continue.

                    offset += chunkSize;

                    document.getElementById("fileupload").value = "";

                }

                else if (req.status === 200) { // request complete.

                    document.getElementById("fileupload").value = "";

                    break;

                }

                else {

                    alert("Something went wrong");

                    break;

                }

            }

        }


        function sendRequestFileContent(method, fileName, url, bytes, firstRequest, offset, count, fileBytes) {

            return new Promise(function (resolve, reject) {

                var xhr = new XMLHttpRequest();

                xhr.open("PATCH", url, true);

                xhr.setRequestHeader("OData-MaxVersion", "4.0");

                xhr.setRequestHeader("OData-Version", "4.0");

                xhr.setRequestHeader("Content-Range", "bytes " + offset + "-" + (offset + count - 1) + "/" + fileBytes.length);

                xhr.setRequestHeader("Content-Type", "application/octet-stream");

                xhr.setRequestHeader("Prefer", "odata.include-annotations=OData.Community.Display.V1.FormattedValue");

                xhr.setRequestHeader("Prefer", "odata.include-annotations=*");

                xhr.onload = resolve;

                xhr.onerror = reject;

                xhr.send(bytes);

            });

        }


        async function retrieveFile() {

            var startBytes = 0;

            var increment = 4194304;


            if (image) {

                image.parentNode.removeChild(image);

            }


            var apiEntityName = "new_demos"

            var EventId = "6482a4ea-5ad8-ed11-a7c7-000d3a8d5264";


            var url = serverUrl + "/api/data/v9.0/" + apiEntityName + "(" + EventId +")/new_attachimage";


            var finalContent = "";

            var fileSize = 0;

            var fileName = '';


            while (startBytes <= fileSize) {

                var result = await RetrieveFileRequest("GET", url, startBytes, increment);

                var req = result.target;


                if (req.status === 200) {

                    finalContent += JSON.parse(req.responseText).value;

                    startBytes += increment;

                    if (fileSize === 0) {

                        fileSize = req.getResponseHeader("x-ms-file-size");

                        fileName = req.getResponseHeader("x-ms-file-name");

                    }

                    document.getElementById("img-preview").innerHTML = 'data:image/png;base64,' + finalContent;

                    document.getElementById("img-preview").style.width = '300px';

                    document.getElementById("img-preview").style.marginBottom = '20px';


                    image = new Image();

                    image.src = document.getElementById('img-preview').innerHTML;

                    document.body.appendChild(image);

                }

            }

        }


        function RetrieveFileRequest(method, url, startBytes, increment) {

            return new Promise(function (resolve, reject) {

                var request = new XMLHttpRequest();


                request.open(method, url);

                request.setRequestHeader("OData-MaxVersion", "4.0");

                request.setRequestHeader("OData-Version", "4.0");

                request.setRequestHeader("Range", "bytes=" + startBytes + "-" + (startBytes + increment - 1));

                request.setRequestHeader("Prefer", "odata.include-annotations=OData.Community.Display.V1.FormattedValue");

                request.setRequestHeader("Prefer", "odata.include-annotations=*");

                request.onload = resolve;

                request.onerror = reject;

                request.send();

            });

        }
Step 3: Create HTML Webresource in CRM.
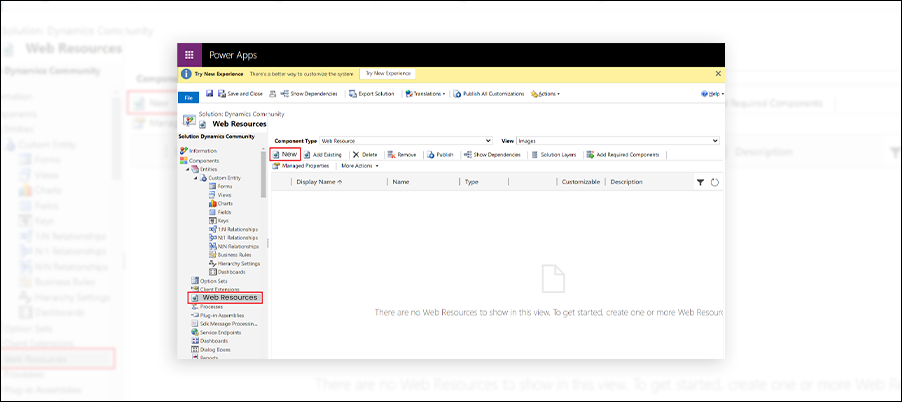
- To create webresource, go to the solution and click on Web Resource.
- Click on New to create a webresource.
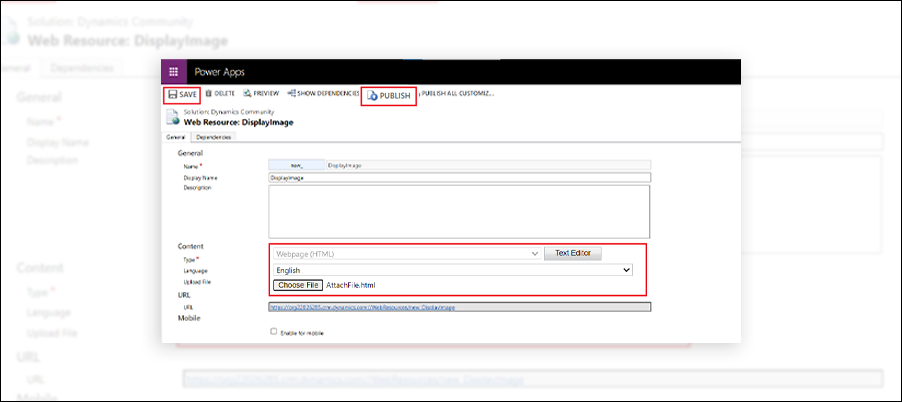
- Give appropriate Name, Display Name to webresource and select type as Webpage(HTML). Click on Choose File and select HTML file. Now Save and Publish it.
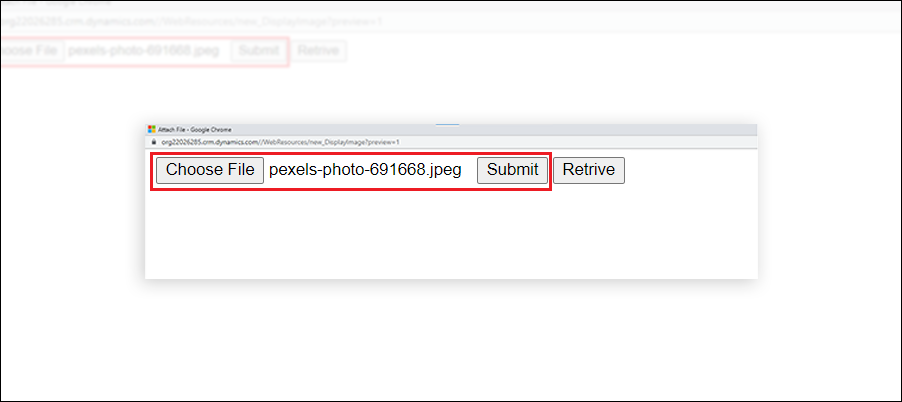
Step 4: Now open the webresource.
- Upload the image by file input type, and by clicking on submit button, it will store that uploaded image into CRM.
- Next, click on the Retrieve button. It will retrieve the image from CRM and show it on the web page.
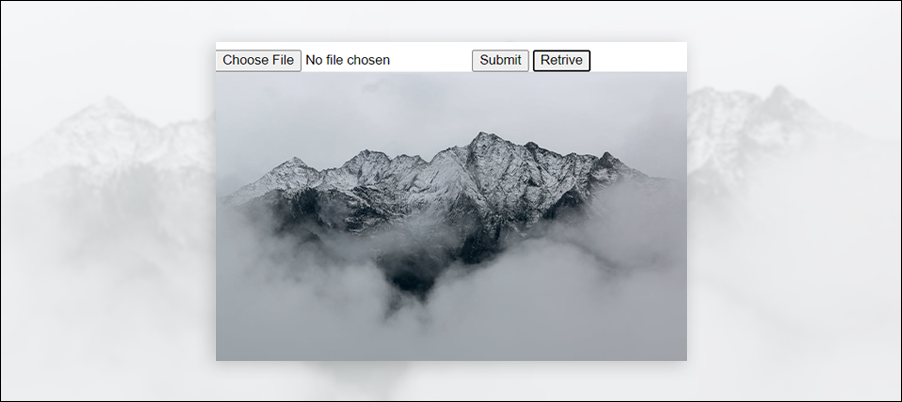
So by using these steps, users can store and retrieve images from Dynamics 365 Entity.
All product and company names are trademarks™, registered® or copyright© trademarks of their respective holders. Use of them does not imply any affiliation with or endorsement by them.


