


With PowerApps portals, you can create a powerful experience – external websites, anonymous content browsing, customization of pages, and layouts. Dynamics 365 portal users can reuse page designs and configure templates and pages using the portal designer. Previously, portal users had to make changes to theme.css to change the UI.
Now there’s a new feature in the Dynamics 365 portal designer. It allows you to add new themes and update the colors using the UI itself. You can set header and footer properties using the color picker.
Here’s how to check these new features:
Set Theme in Your Portal
Navigate to https://make.powerapps.com.
Select the environment where the portal is configured.
From the left menu, click on Apps.
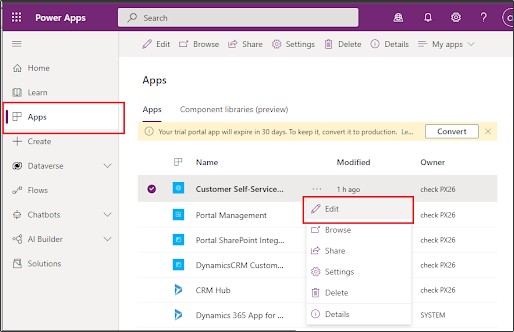
From the Apps list, select your portal. Click on 3 dots (…) and then the Edit option.
When you click on it, you will be redirected to the PowerApps Portal Editor/Designer.
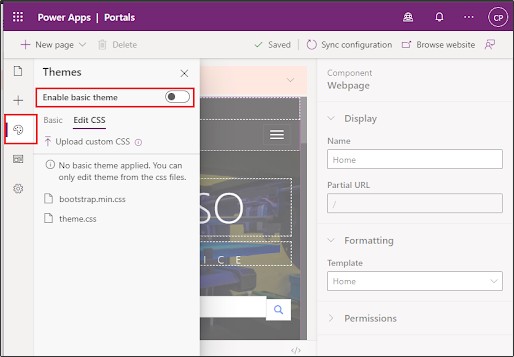
In Portal Designer, click on the “color plate” icon (from the left menu) called Theme.
It will show the Themes option, where you can see the “Enable Basic Theme” option.
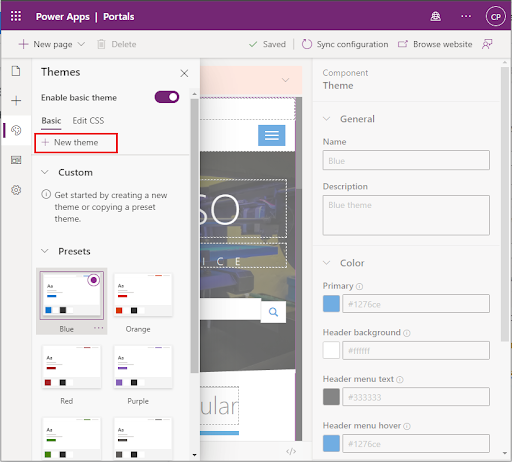
Under the Enable Basic Theme option, there is an option to create a new theme or Save As the OOB Preset.
The “+ New theme” creates a new theme by referring to “Blue” OOB theme properties.
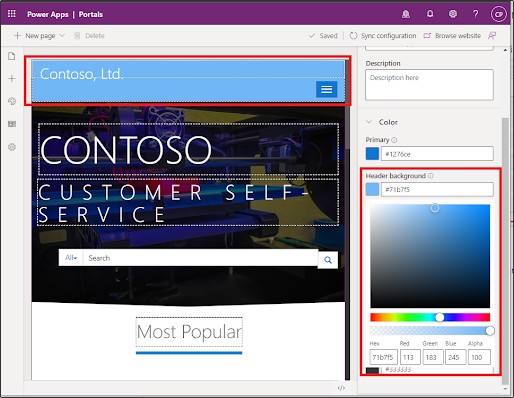
Once you click on the right side, the theme properties are editable. You can set the custom color in hex format. If you want to add color via color picker, click on the highlighted option to open the color picker.
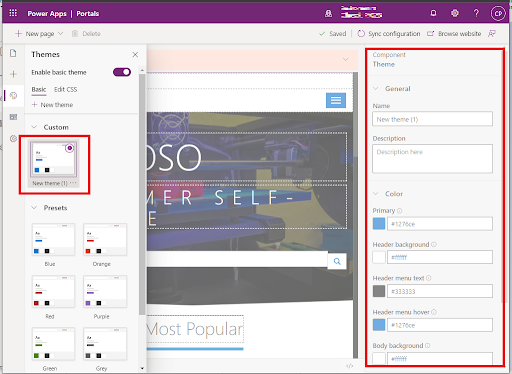
You can choose a color from the color picker or directly paste the hex code in the text box.
Note: To close the color picker, select the required color and click on the highlighted icon again.
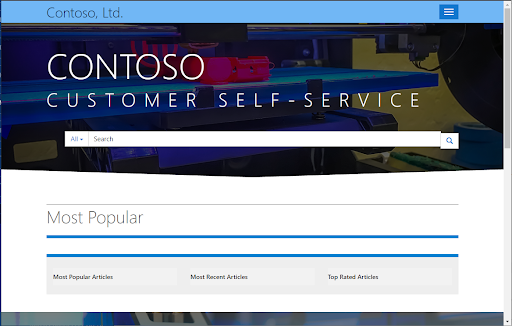
Once you update the properties, click on Browse Websites. All your updates will be applicable on the portal website.
On the creation of a new custom theme, a new CSS file is created called “new-theme-1.scss”.
You can find the “new-theme-1.scss” file as an attachment of the note in the Web Files table under the Portal Management app in Dynamics 365 CRM.
Download the “new-theme-1.scss” file, change the header properties in code, and upload the file in the same note in the “Custom Web” theme file by replacing the previous file with the new one.
Note: Take a backup of the file before you make any modifications to it.
Click on the “Sync Configurator”. It will show a custom updated theme.
Click on the “Browser Website”. The portal will load with an updated code.
Note: Currently, there’s no option to edit custom themes in the portal designer. Also, do not make any modifications to “portalbasictheme.css”. If changes are not reflecting, try clearing the cache.
Overall, the portal designer’s color picker and custom theme would help make better UI changes to the Dynamics 365 portal.


