
In Dynamics 365 WebAPI, you can retrieve data using FetchXML queries for some complex requirements. Dynamics 365 WebAPI supports querying using “FetchXML”. With FetchXML, it can be easily generated using “Advanced Find”.
Advanced Find is a powerful feature in Dynamics 365 that can be used easily by literally any user without SQL query knowledge. It is specifically helpful when there is a need to narrow down results to the minimum, based on the ‘specified filter’ criteria.
You need to follow the below steps to general FetchXML queries using ‘Advanced Find’:
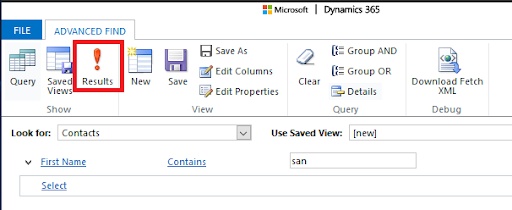
Step-1: Search and open “Advanced Find”
→ To access ‘Advanced Find’ in Dynamics 365, click on the ‘funnel’ icon in the upper right-hand corner.
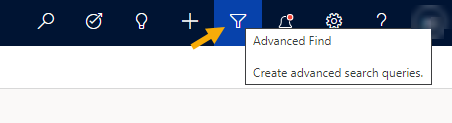
→ By clicking on the ‘funnel’ icon, the “Advanced Find” window will open.
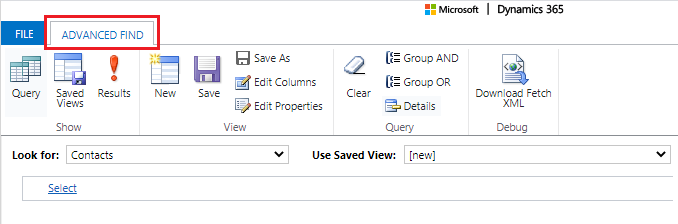
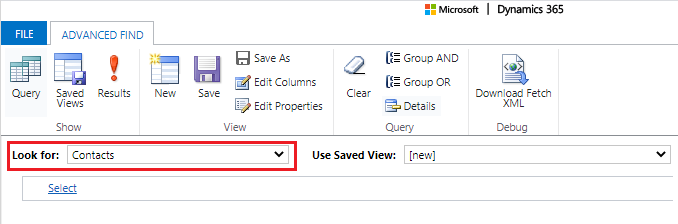
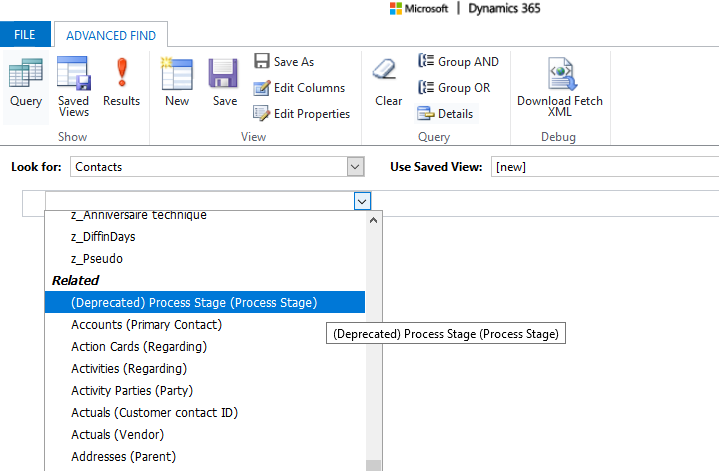
→ In the Look for drop-down option, select an entity for which you want to generate a FetchXML Query.
→ Click Select to define search criteria. Fill in the criteria. (You can select fields from the current record type, or from related records.)
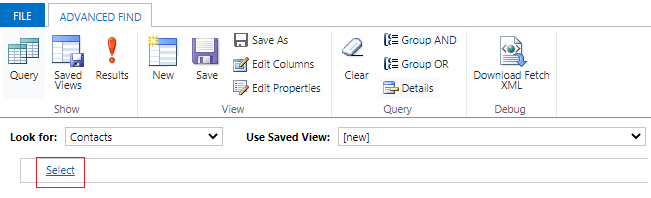
→ At the bottom of the “Select” list, the Related section shows related record types.
For example, most record types have a Related record type. To select fields from a related record type, select field, and a new Select link appears.
Step-2: Specify the sort order
Follow the below steps to manage the order
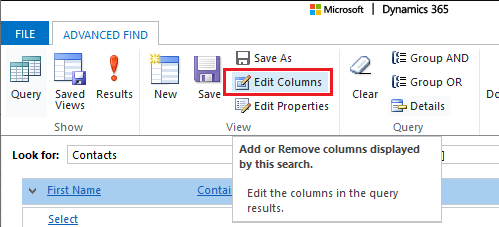
→ Select Edit Columns to add/remove columns and edit the columns in the Query search results.
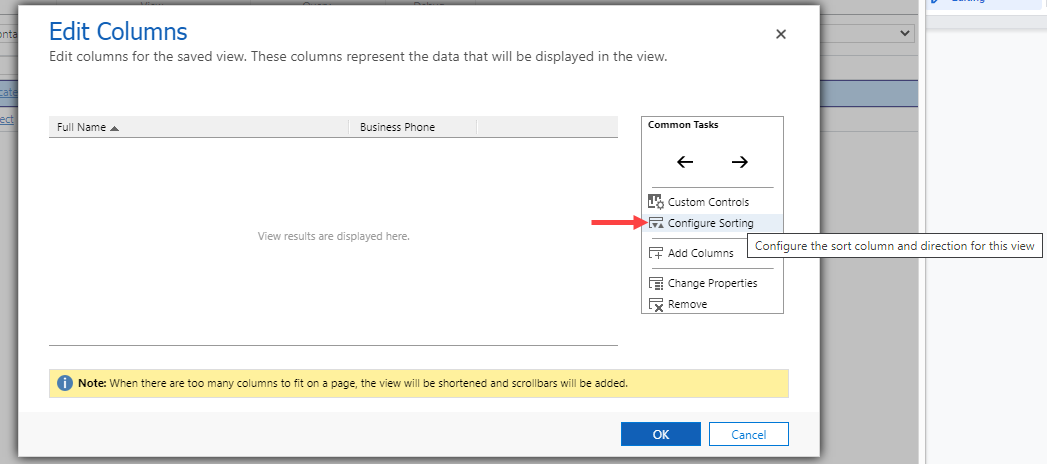
→ Select “Configure Sorting” to sort the columns and its view.
→ Specify the column to sort on, specify the sort order, and then select OK.
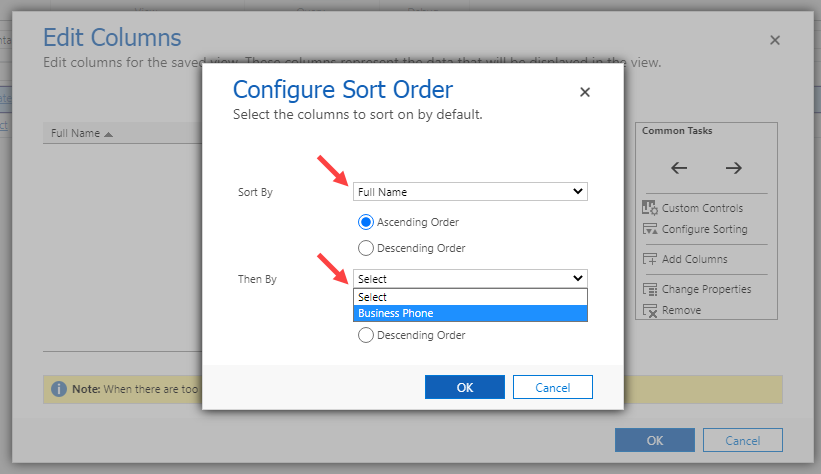
→ After selecting the options for “Sort By” and “Then By”, select ‘OK’ to save the changes.
Step-3: Add additional columns to Advanced Find query
→ In the “Add Columns” window, you can click on the Add Columns to add additional columns to the Advanced Find query.
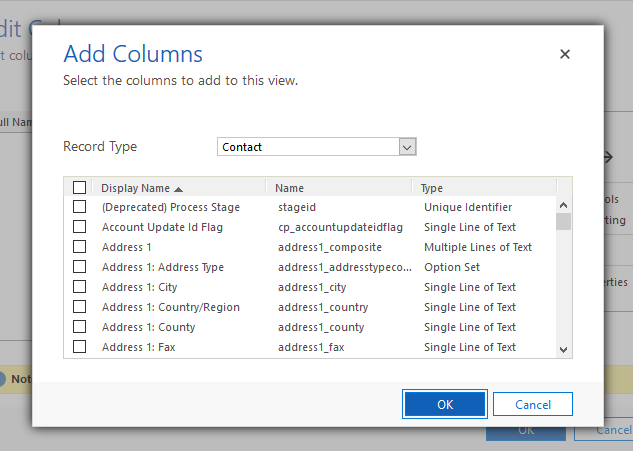
→ After selecting the columns from the list, click on the “OK” button to proceed further.
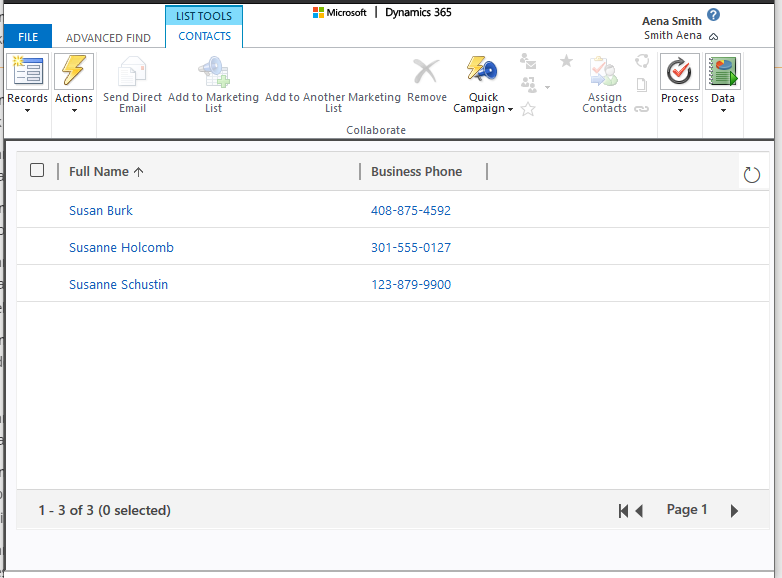
Step-4: Get ‘Results’
→ Once you have your Advanced Find query complete, in the Advanced Find window, you can click on the red exclamation point (Results) to run the query.
→ By clicking on the “Results”, you will get the matched result records of the selected entity based on selected filters.
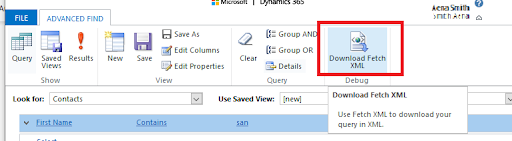
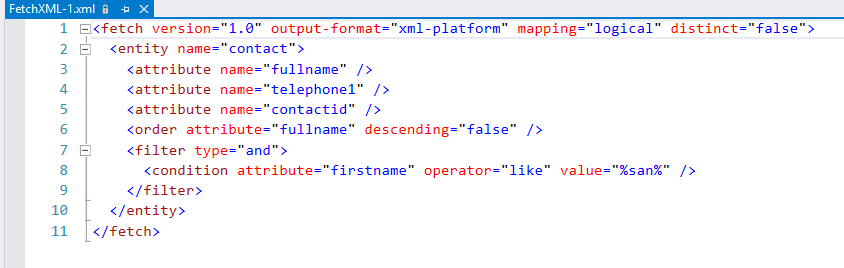
Step-5: Download FetchXML
→ In the “Advanced Find” window, you can click on the Download to download the FetchXml query.
Downloaded query:
→ Once you download the fetch XML query, you can use it for WebAPI.
All product and company names are trademarks™, registered® or copyright© trademarks of their respective holders. Use of them does not imply any affiliation with or endorsement by them.


